Cava Hummus Recipe
I’ve made hummus a hundred different ways over the years, but when I finally cracked this CAVA hummus recipe in my own kitchen, I stopped mid-stir and laughed out loud.
As a chef, I’m skeptical of copycat recipes, but this CAVA-style hummus doesn’t cut corners. Dried chickpeas simmer low and slow, garlic is roasted until sweet and golden, and tahini and fresh lemon juice are carefully balanced for that signature creamy texture.
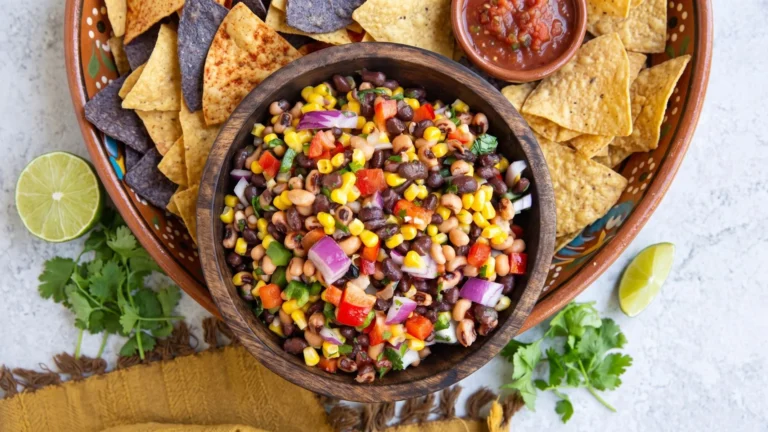
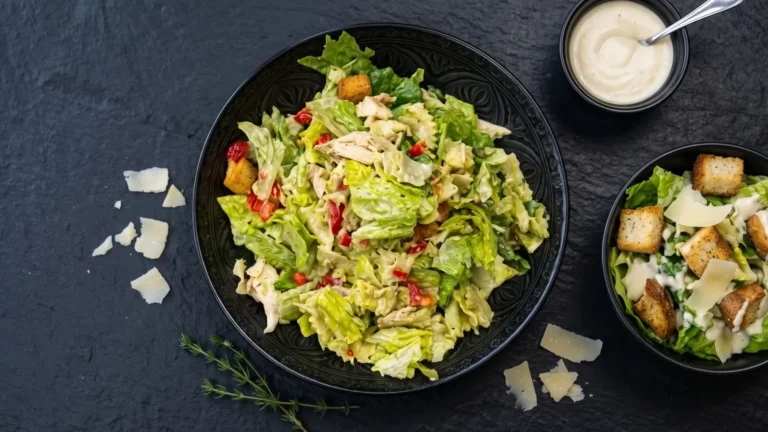
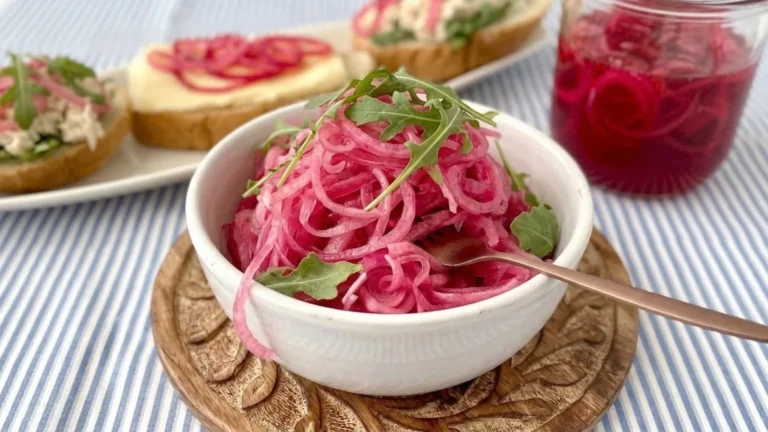
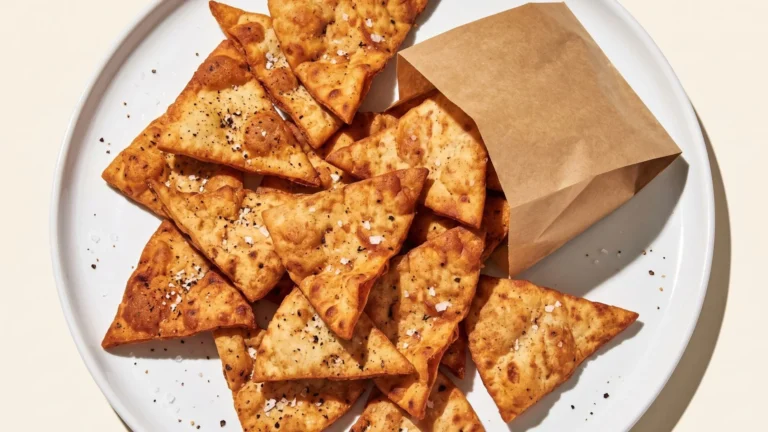
Serve this silky homemade hummus with warm pita, crispy falafel, juicy grilled chicken, and a fresh feta salad for a complete Mediterranean-inspired spread. Add pickled onions or olives for extra brightness.
One note before you start: be patient. The soaking and roasting take time, but that patience makes this hummus exceptionally smooth, rich, and flavorful.
What Is Cava Hummus and Why Do Fans Love It?
Cava hummus is the creamy, garlicky chickpea dip made famous by the Mediterranean fast-casual chain Cava, known for its ultra-smooth texture and deep roasted garlic flavor.
Unlike grocery-store hummus, which often tastes grainy or one-note, this version balances nutty tahini, bright lemon, and slow-cooked garlic that’s been mellowed into something sweet and rich.
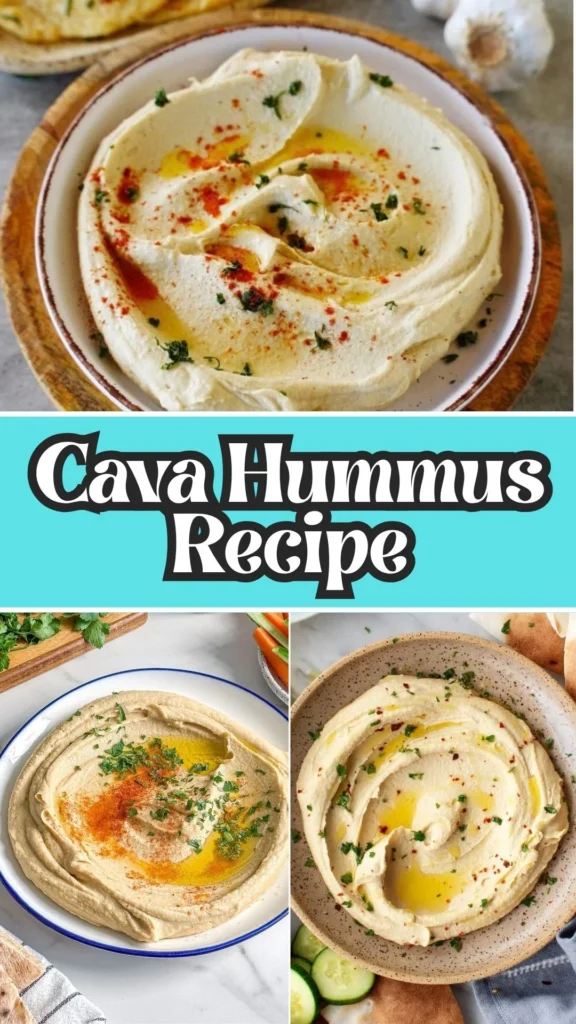
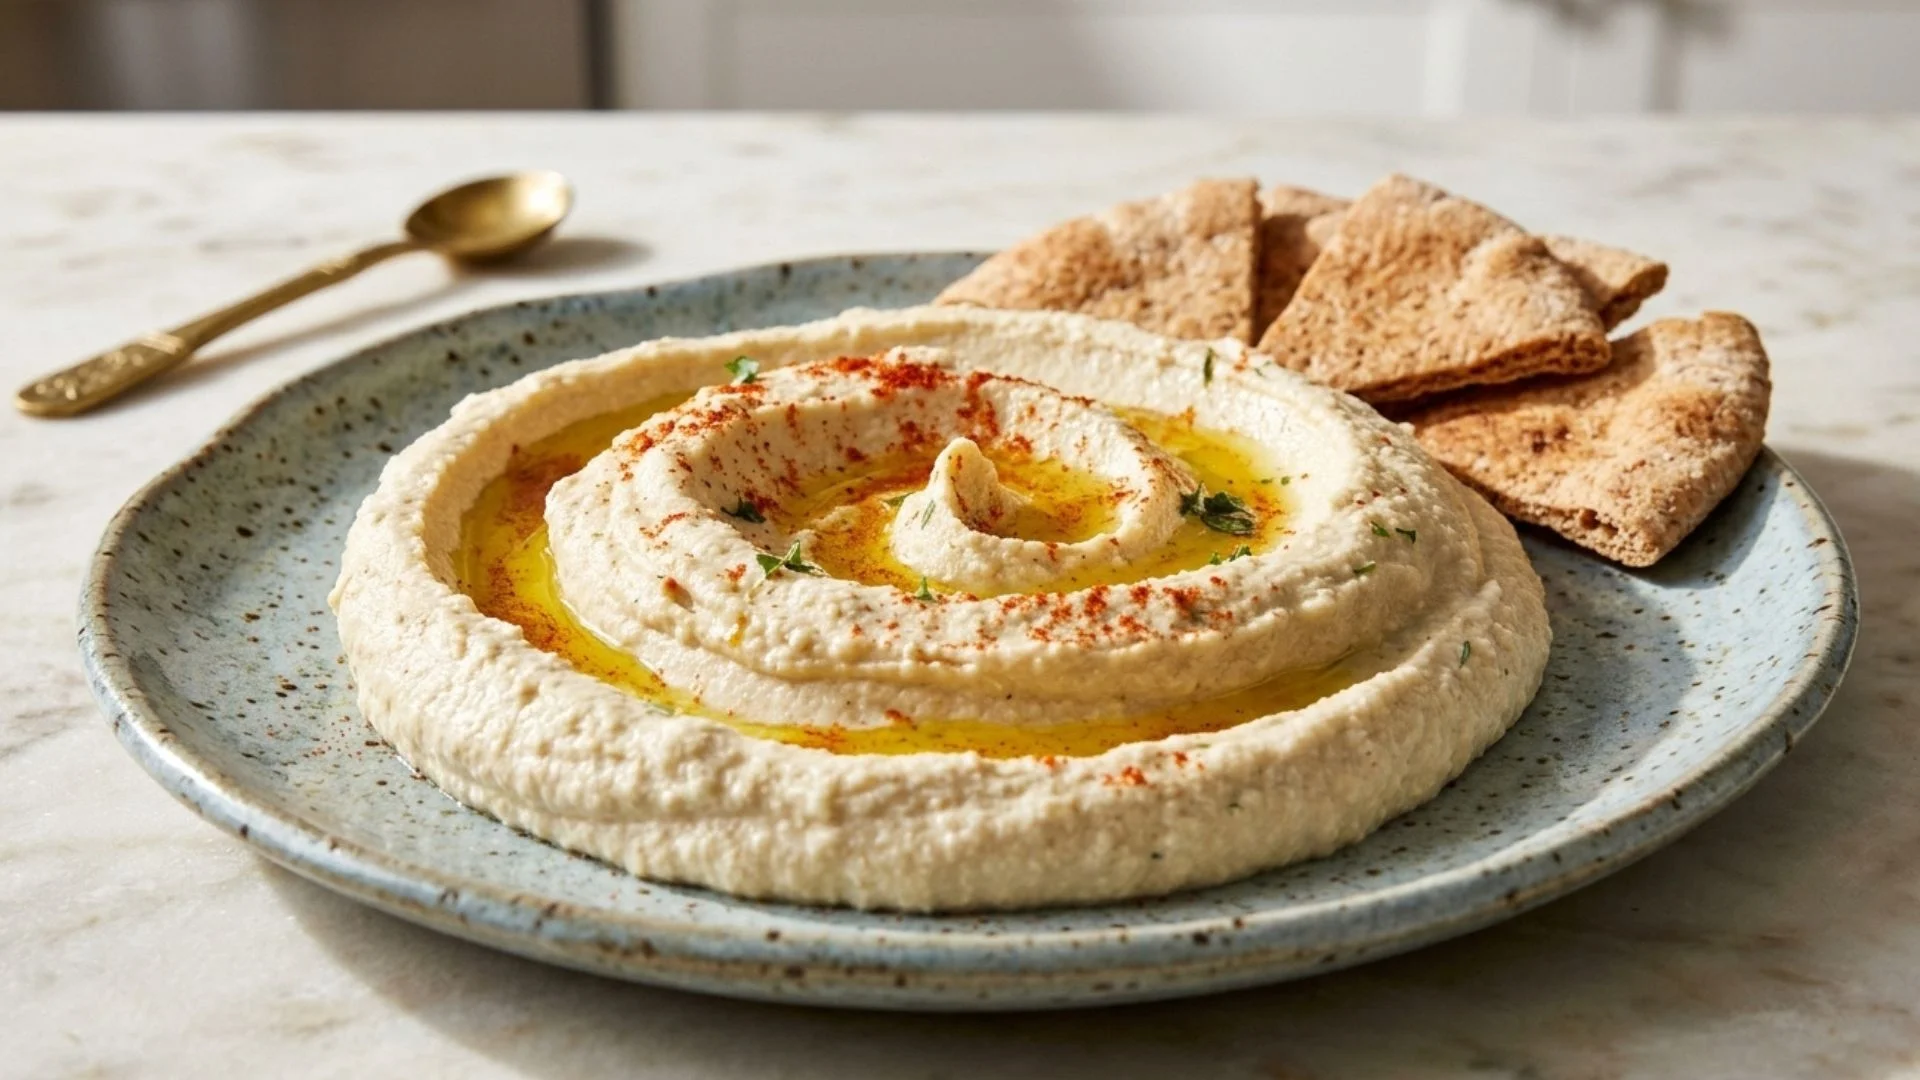
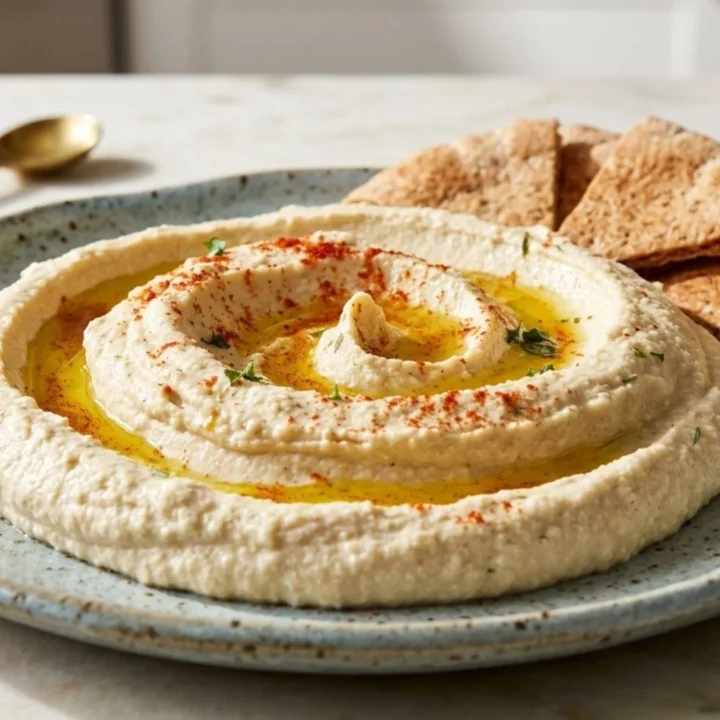
Fans compare it to baba ganoush for its smokiness and to classic Lebanese hummus for its texture, but it stands apart because of how it’s finished – a spiral pattern holding a pool of good olive oil, dusted with cayenne or paprika.
It’s simple food, but the technique (soaking beans properly, peeling skins, roasting garlic low and slow) is what separates an unforgettable bowl from an average one. That’s exactly why this dip has such a devoted following.
The Nostalgic History Behind Cava Hummus
Hummus itself dates back centuries in Levantine and Mediterranean cooking, long before it became a lunch-counter staple in the U.S. Traditional households made it fresh daily, with beans soaked overnight and garlic roasted rather than raw – a slower method that largely disappeared once supermarket hummus took over in the 1990s and 2000s, prioritizing shelf life over flavor.
Cava helped revive that old-school approach at scale, reintroducing roasted garlic and hand-peeled chickpeas to a generation raised on tubs from the dairy aisle.
This distinguishes it from newer, gimmicky hummus flavors flooding grocery shelves today – it’s less about novelty and more about doing the fundamentals properly, which is exactly why this copycat cava hummus recipe leans on the same patient, old-fashioned technique.
Key Ingredients That Give This Cava Hummus Recipe Its Signature Flavor
A handful of ingredients do all the heavy lifting here. Dried garbanzo beans (rather than canned) give a creamier, less watery base once cooked properly. Baking soda added to the boiling water breaks down the chickpea skins faster, which is the real secret to ultra-smooth hummus.
Roasted garlic, cooked low and slow in olive oil, is the biggest flavor difference-maker – it turns sharp and pungent into sweet, caramelized, and mellow. Tahini brings the nutty backbone every good hummus needs, while fresh lemon juice cuts through the richness and keeps things bright.
Sea salt ties everything together, and the reserved garlic-infused olive oil used to stream into the processor adds silkiness you simply can’t get from plain oil. Finally, cayenne or paprika and fresh parsley on top aren’t just garnish – they add a final layer of warmth, color, and freshness that makes the first bite memorable.
Cava Hummus Recipe Ingredients
- 1 cup dried garbanzo beans – the base of the hummus; dried beans give a smoother, less watery result than canned. Substitute: 2 (15 oz) cans of chickpeas, drained and rinsed, for a quicker version.
- Water (for soaking and boiling) – about 4 inches above the beans for soaking, and 2 inches above for boiling.
- 1 teaspoon baking soda – helps break down the chickpea skins for a creamier texture.
- 6–8 garlic cloves – roasted slowly to become sweet, soft, and mellow.
- 1 cup extra virgin olive oil (for roasting garlic), plus extra for serving – infuses flavor into both the garlic and the oil itself.
- 1/2 cup tahini – adds the classic nutty, slightly bitter backbone. Substitute: sunflower seed butter for a nut-free-adjacent option (note: tahini is sesame-based, not a tree nut).
- 1/4 cup fresh lemon juice – brightens the dip; adjust to taste.
- 1–1½ teaspoons sea salt – season gradually and taste as you go.
- Cayenne pepper or paprika (for garnish) – cayenne for heat (cava spicy hummus recipe style), paprika for a milder, smoky finish.
- Fresh chopped parsley (for garnish) – adds color and a clean, herby contrast.
Tools You Need to Make This Cava Hummus Recipe at Home
- Half-gallon container or large bowl (for soaking)
- Large pot
- Food processor
- Small saucepan (for roasting garlic)
- Strainer or colander
- Measuring cups and spoons
Prep time: 20 minutes (plus 8 hours soaking)
Cook time: 40 minutes
Total time: About 9 hours (mostly hands-off soaking)
Steps to Make This Cava Hummus Recipe
1. Soak the Chickpeas
Place the dried garbanzo beans in a half-gallon container and cover with water so it sits about 4 inches above the beans.
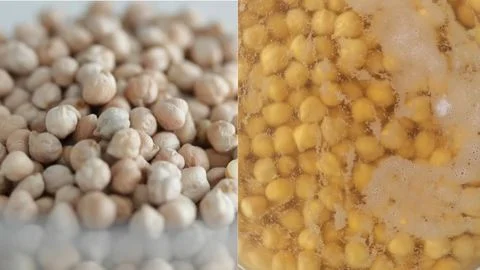
Cover and soak overnight, at least 8 hours. (Quick option: use canned chickpeas, or pour boiling water over dried chickpeas and soak 1 hour.)
2. Cook the Chickpeas
Drain and rinse the soaked beans, discarding any black or damaged ones.
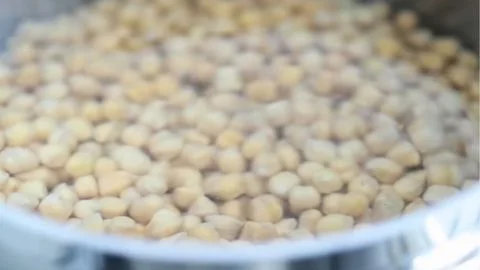
Transfer to a large pot, cover with fresh water about 2 inches above the beans, and stir in the baking soda. Bring to a boil, then reduce to a simmer and cook 30–40 minutes until tender.
3. Roast the Garlic
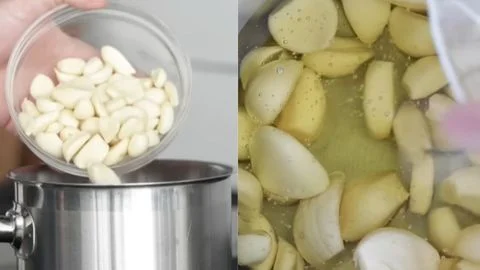
While the chickpeas simmer, add the garlic cloves to a saucepan, cover with olive oil, and cook on low heat about 30 minutes until golden and soft, checking after 15–20 minutes.
4. Cool & Optionally Skin the Chickpeas
Drain the cooked chickpeas and rinse with cold water to cool. Optional: Return chickpeas to the pot, cover with cold water, and gently rub them to loosen the skins.
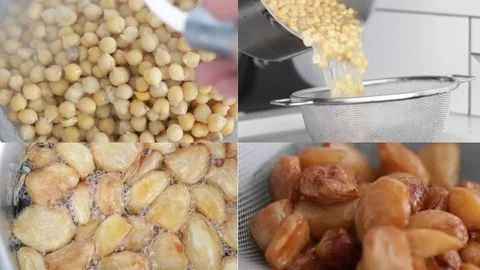
Skim off the floating skins, then drain again.
5. Blend the Hummus
Drain the roasted garlic, reserving the garlic-infused olive oil. Add the chickpeas to a food processor and pulse on high until a thick paste forms, about 1–1½ minutes. Add the tahini, lemon juice, roasted garlic, and sea salt.
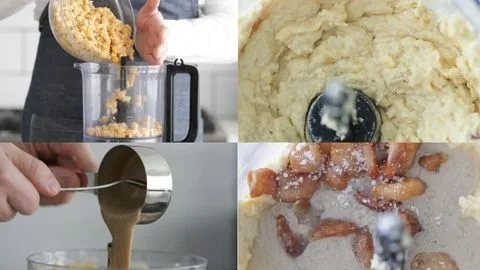
Process on low speed while slowly streaming in the reserved garlic olive oil until smooth and creamy. Taste and adjust lemon, tahini, or salt as needed.
6. Plate & Garnish
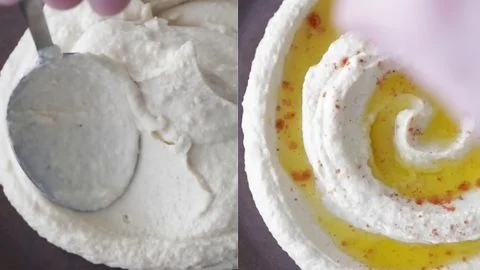
Spoon onto a plate, use the back of a spoon to create a spiral indentation while rotating the plate, drizzle with olive oil, and sprinkle with cayenne or paprika and parsley.
Pro Tips for Getting the Cava Hummus Flavor Just Right
The single biggest mistake people make is skipping the baking soda or the skin-peeling step – both are what give this hummus its signature silkiness instead of a grainy texture. Don’t rush the garlic either; roasting it too fast at high heat will scorch it and turn the whole batch bitter, so keep the heat low and check it often.
When processing, always add liquid gradually. Pouring in all the garlic oil at once can make the hummus greasy rather than emulsified, so stream it in slowly while the processor runs, the same way you’d make mayonnaise. Squeeze your lemon juice through your fingers to catch seeds, and add it in stages, tasting as you go, since bottled lemon juice and fresh juice vary in acidity.
If your hummus seems too thick, a tablespoon of the reserved chickpea cooking water (instead of more oil) loosens it without diluting flavor. Finally, let the hummus rest for 10–15 minutes before serving; the flavors meld and deepen slightly once it sits, which is why cava hummus always tastes better a little after it’s made rather than straight out of the processor.
Easy Variations to Customize This Cava Hummus Recipe
Once you’ve mastered the base, it’s easy to branch out. For a cava spicy hummus recipe, blend in a chopped roasted jalapeño or an extra half-teaspoon of cayenne directly into the food processor rather than just on top.
For a cava red pepper hummus recipe, add half a cup of jarred roasted red peppers (well-drained) along with the tahini and lemon for a smoky, slightly sweet twist and a beautiful orange-red color.
You can also stir in fresh herbs like dill or basil, swap lemon for lime for a brighter finish, or add a spoonful of harissa paste for a North African-inspired kick.
Best Ways to Serve Cava Hummus in Your Meals
This hummus is endlessly versatile, which is part of why it’s so beloved. The simplest way to enjoy it is with warm pita bread or pita chips for dipping – the classic pairing that never gets old. It also works beautifully as the creamy base of a grain bowl: spread a generous layer at the bottom of a bowl, then top with roasted vegetables, grilled chicken or falafel, cucumber-tomato salad, and a drizzle of tahini sauce for a complete Cava-style meal at home.
Use it as a sandwich or wrap spread instead of mayo for extra creaminess and protein. It’s also excellent alongside crudités like carrots, celery, and bell pepper strips for a lighter snack. For entertaining, spoon it onto a mezze platter next to olives, feta, dolmas, and marinated vegetables. Leftover hummus makes a great topping for baked potatoes or a stir-in for pasta salad dressing.
However you serve it, don’t skip the final drizzle of good olive oil and sprinkle of paprika or cayenne – that finishing touch is what makes it feel like the real, restaurant-style version rather than an everyday dip.
How to Store and Keep Cava Hummus Fresh
Store hummus in an airtight container in the refrigerator for up to 5–7 days. The top may darken slightly or separate a bit – just stir it back together before serving. For longer storage, freeze it (without the garnish) for up to 3 months in a freezer-safe container, leaving room for expansion.
Thaw overnight in the fridge and stir well, adding a splash of olive oil or water to restore its creamy texture, since freezing can make it slightly grainy. No need to reheat; hummus is best enjoyed cold or at room temperature.
Nutrition Facts and Dietary Notes
A typical 2-tablespoon serving of this cava hummus recipe has roughly 70–90 calories, 5–6g fat, 6–7g carbs, and 2g protein, though exact numbers vary by how much oil is used.
It’s naturally vegan, vegetarian, and gluten-free, making it an easy fit for most diets. For a lower-fat version, reduce the olive oil and add a bit more reserved chickpea cooking water instead.
Chickpeas also offer fiber and plant-based protein, supporting digestion and steady energy, while olive oil provides heart-healthy monounsaturated fats.
FAQs About This Copycat Cava Hummus Recipe
Common Cava Hummus Recipe questions answered to help you understand it better.
1. Can I use canned chickpeas instead of dried?
Yes – drained, rinsed canned chickpeas work well for a faster version, though dried beans cooked from scratch give a creamier result.
2. Why do I need to peel the chickpea skins?
Removing the skins isn’t required, but it’s the key trick for that ultra-smooth, restaurant-style texture Cava hummus is known for.
3. Can I make this a cava spicy hummus recipe?
Absolutely – blend in extra cayenne or a roasted jalapeño for heat that’s built into the dip, not just sprinkled on top.
4. What’s the best substitute for tahini?
Sunflower seed butter is the closest substitute if you don’t have tahini on hand, though the flavor will be slightly sweeter.
5. How long does homemade hummus last?
Stored in an airtight container in the fridge, it stays fresh for 5–7 days, or up to 3 months in the freezer.
Cava Hummus Recipe
I’ve made hummus a hundred different ways over the years, but the day I finally cracked this cava hummus recipe in my own kitchen, I actually stopped mid-stir and laughed out loud. It was that good. As a chef, I’m used to being skeptical of “copycat” recipes – most cut corners the original never did. But this one doesn’t cheat: dried chickpeas simmered low and slow, garlic roasted until it turns sweet and golden, tahini and lemon balanced by hand, not guesswork.
Ingredients
- 1 cup dried garbanzo beans
- Water (for soaking and boiling)
- 1 teaspoon baking soda
- 6–8 garlic cloves
- 1 cup extra virgin olive oil (for roasting garlic), plus extra for serving
- 1/2 cup tahini
- 1/4 cup fresh lemon juice
- 1–1½ teaspoons sea salt
- Cayenne pepper or paprika (for garnish
- Fresh chopped parsley (for garnish)
Nutrition Information:
Yield: 8 Serving Size: 1Amount Per Serving: Calories: 100
And that’s it – a creamy, garlicky, restaurant-worthy cava hummus recipe you can make in your own kitchen anytime the craving hits. If you try the spicy or red pepper variation, I’d love to hear how it turned out – drop a comment below and let me know your favorite way to serve it. Looking for more Mediterranean-inspired recipes? Check out the related recipes linked at the bottom of this post to keep the mezze spread going.
We’d love to hear how this recipe turns out for you! Give it a try, then drop a comment below to share your thoughts and tips with us.
You can also follow us on Pinterest, and YouTube for more delicious updates and kitchen inspiration. Your feedback and support mean the world to us!