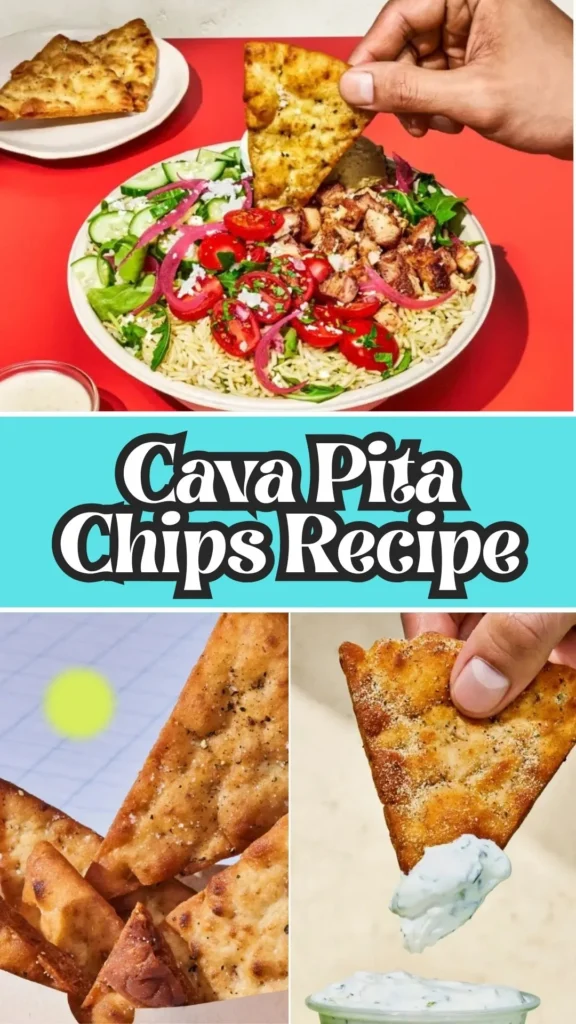
Cava Pita Chips Recipe
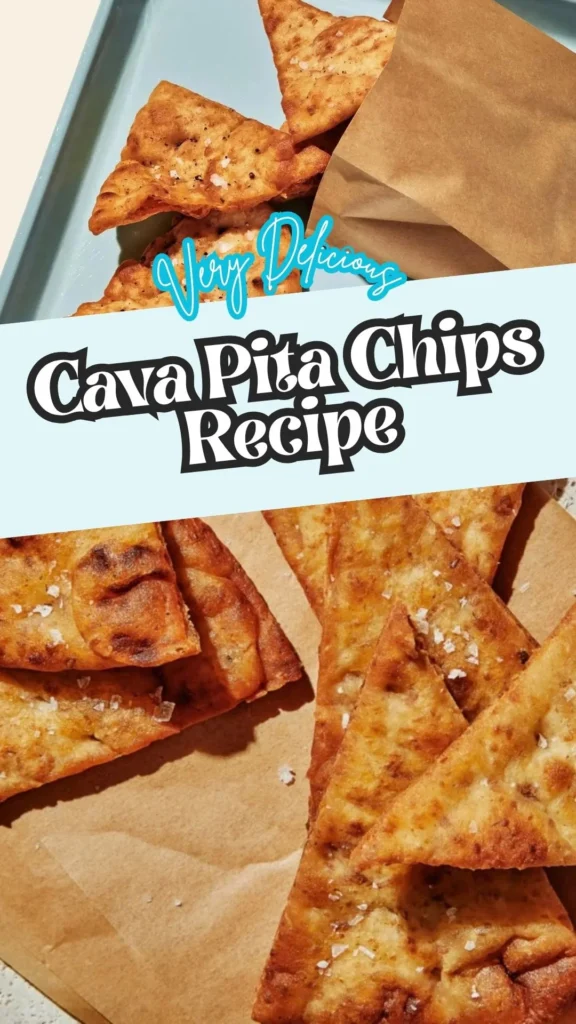
If you love the crispy pita chips served at Cava, you’re going to want to make these at home. They’re warm, crunchy, lightly garlicky, and perfectly seasoned-just the kind of snack you’ll want to keep around for dipping into hummus, creamy sauces, or your favorite Mediterranean spreads.
The best part? You only need a few simple ingredients and about 20 minutes to make them. No deep-frying or complicated techniques-just pita bread, olive oil, a few pantry spices, and a hot oven. They come out golden and crisp with plenty of flavor, making them an easy homemade alternative to the restaurant version.
The type of pita you choose makes a difference, too, especially when you want that signature thin, crunchy texture. I’ll walk you through exactly what to use and how to get the best results. Enjoy Cava pita chips with flavorful yogurt dill, tangy balsamic date, or creamy Caesar dressing.
What Are Cava Pita Chips and Why Do Fans Love It?
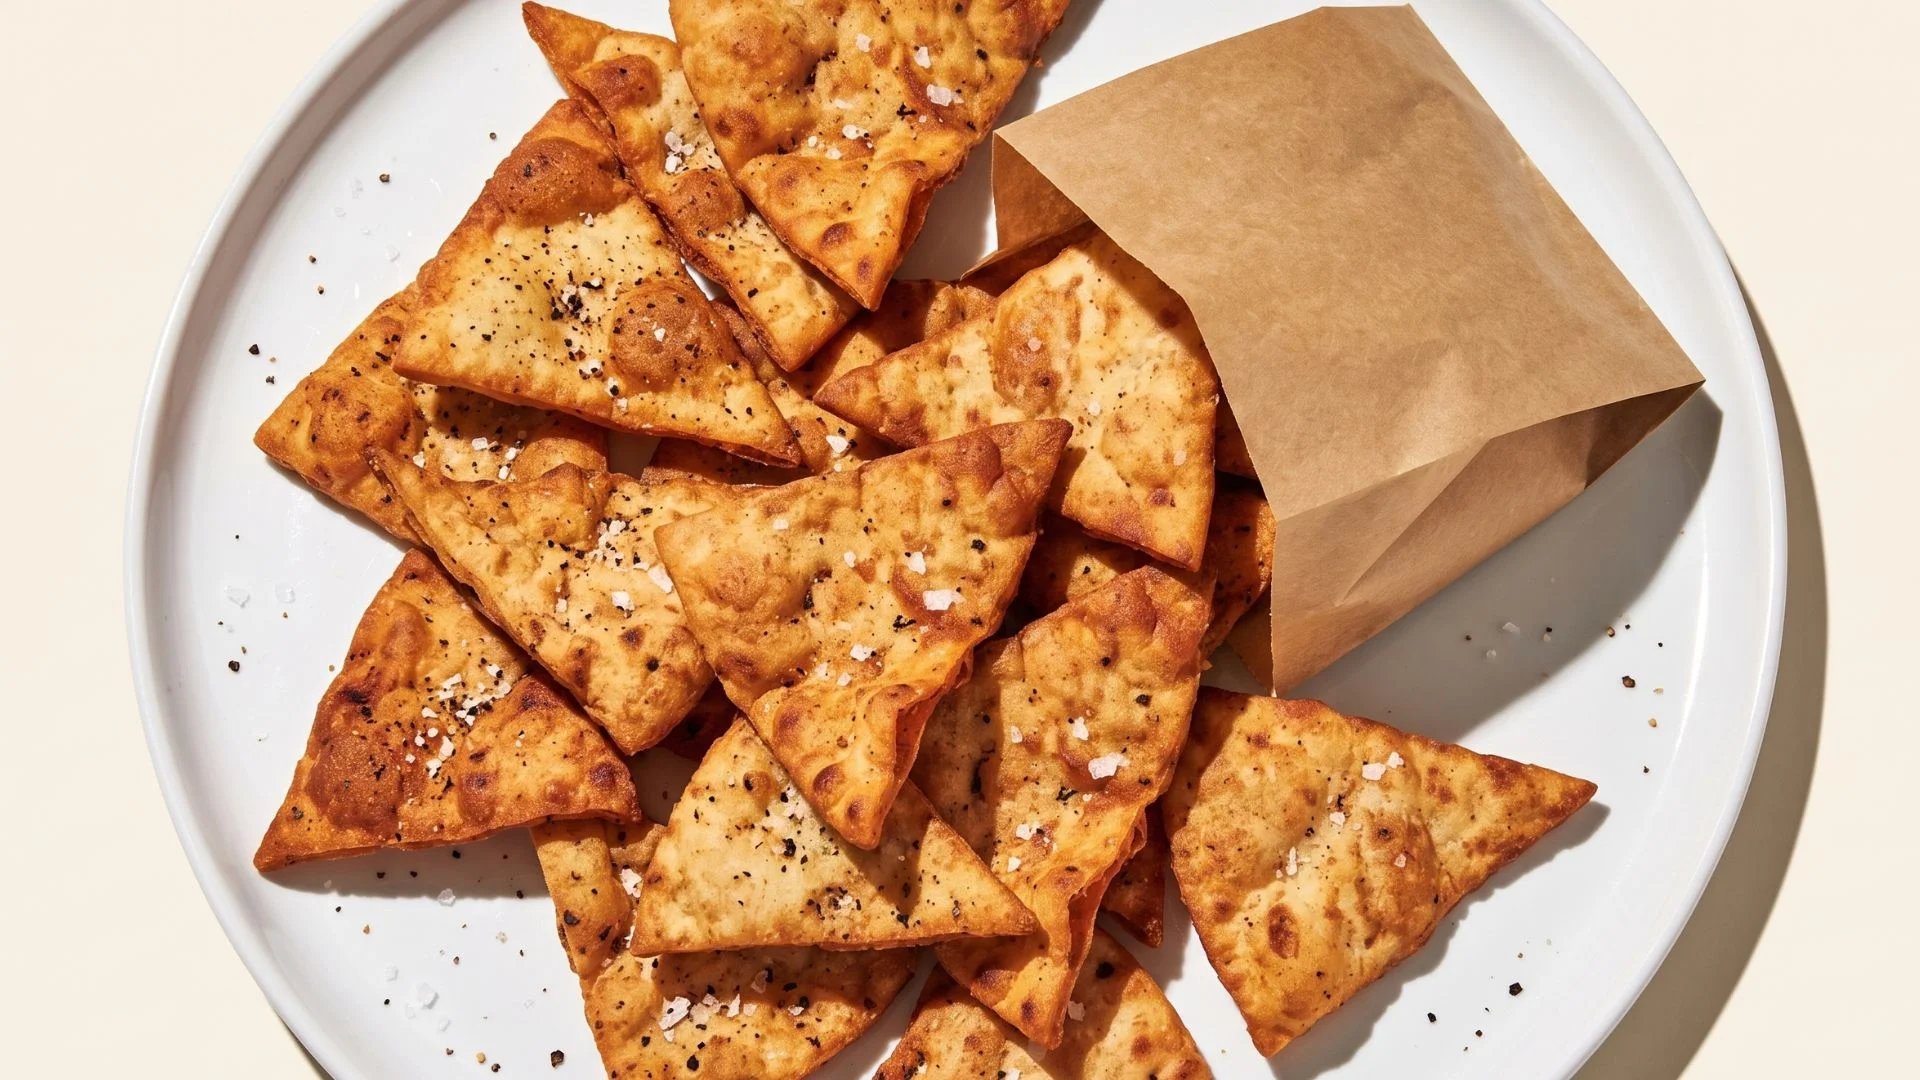
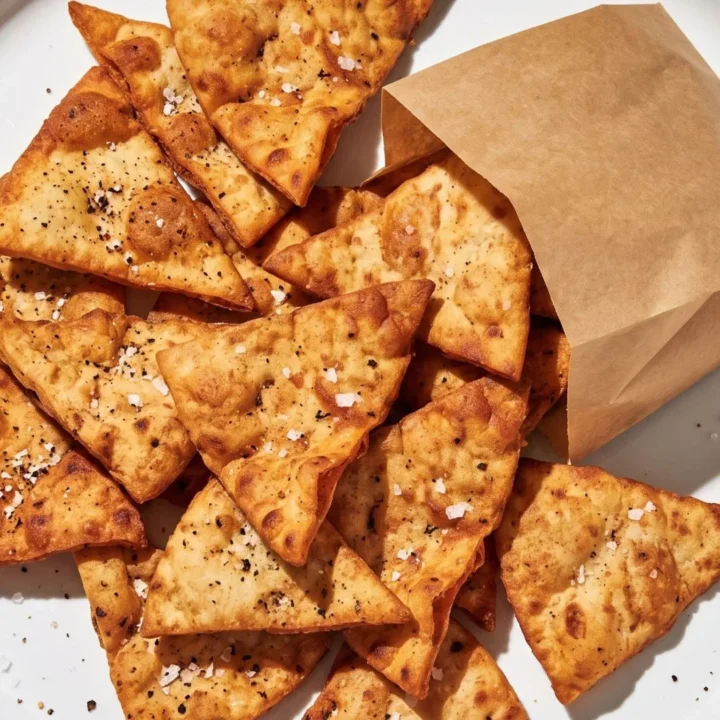
Cava pita chips are thin, oven-baked wedges of pita bread, tossed in olive oil and simple seasonings like garlic powder, salt, and pepper until golden and shatteringly crisp.
What sets this pita chip cava recipe apart from a bag of store-bought chips is texture: baked, not fried, so they’re light rather than greasy, with a toasty, nutty flavor from the olive oil. Compared to tortilla chips or crackers, they have a softer bite in the center but crackly edges.
Fans love them because they’re endlessly dippable – sturdy enough for thick hummus, yet thin enough to snap cleanly. They walk the line between bread and chip, which is exactly why they’ve become a fast-casual favorite.
The Nostalgic History Behind Pita Chips
Pita chips themselves aren’t new – Mediterranean and Middle Eastern home cooks have baked or fried leftover pita into crisp wedges for generations, both to season it and to avoid wasting stale bread.
What made a cava chips recipe distinct was popularizing this humble kitchen habit at scale, pairing it with dips like hummus and tzatziki in a fast-casual format. Older versions often relied on thicker, fluffier pita, giving a chewier, bready chip.
Newer iterations, including this one, favor thinner, Lebanese-style pita for a snappier, more delicate crunch – closer to a cracker than a roll. It’s a small shift, but it’s the difference between a chip that bends and one that shatters.
Key Ingredients That Give This Food Its Signature Flavor
The magic of this cava pita chip recipe lies in just a few ingredients working together. Thin, traditional Lebanese pita is the backbone – its low moisture content means it crisps evenly instead of turning tough or leathery.
Olive oil is next; it not only helps the seasoning stick but also carries flavor into every bite while encouraging that golden, toasted color in the oven. Salt and pepper form the savory base, while garlic powder – used at roughly double the salt and pepper – brings the warm, aromatic punch that makes these taste unmistakably “cava-style” rather than plain.
Optional additions like paprika, cumin, or coriander let you lean smoky, earthy, or warmly spiced depending on your mood. Together, these simple pantry staples transform basic bread into a craveable, restaurant-style snack.
Cava Pita Chips Recipe Ingredients
- Pita bread – Traditional Lebanese-style pita is preferred; it’s thinner than typical grocery-store pita, which helps the chips crisp up rather than staying chewy. If your pita is thick, you can peel it apart into two thinner rounds before cutting.
- Olive oil – About 1 tablespoon per loaf of pita; this recipe uses 3 tablespoons as a starting point for a batch of pita. Extra virgin olive oil gives the richest flavor, but regular olive oil works fine too.
- Salt – About ¼ teaspoon to start, adjusting to taste. Fine sea salt distributes more evenly than coarse salt.
- Black pepper – About ¼ teaspoon to start, or to taste.
- Garlic powder – Roughly double the amount of salt or pepper (about ½ teaspoon), or to taste. This is the flavor backbone, so don’t be shy.
- Optional seasonings – Paprika, cumin, coriander, or any spice blend you enjoy. A pinch of each can add smoky or earthy depth without overpowering the garlic.
Tools You Need to Make This Recipe at Home
- Pizza cutter or kitchen shears (for clean, even triangles)
- Large mixing bowl
- Baking sheet
- Parchment paper, aluminum foil, or oil for greasing the pan
- Measuring spoons
Prep time: about 5–10 minutes
Cook time: about 10–15 minutes
Total time: roughly 20–25 minutes
Steps to Make This Cava Pita Chips Recipe
1. Preheat the Oven & Cut the Pita
Preheat your oven to 375°F (190°C). Cut the pita into small, even triangles using a pizza cutter or kitchen shears.
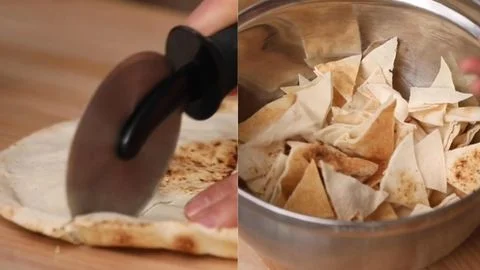
For thin Lebanese-style pita, keep both sides together for sturdier chips; thicker pita can be separated first if you prefer a lighter chip. It’s fine if a few pieces come apart on their own.
2. Season the Pita Pieces
Place the cut pita pieces into a large bowl.
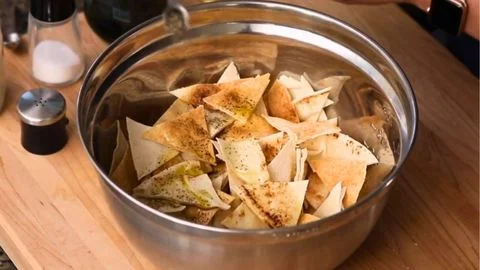
Drizzle with olive oil (about 1 tablespoon per loaf, or 3 tablespoons total as a starting point), then add the salt, pepper, garlic powder, and any optional spices.
3. Toss & Prepare the Baking Sheet
Toss thoroughly, using your hands if needed, until every piece is evenly coated. Taste a small piece of the seasoned mixture and adjust as needed.
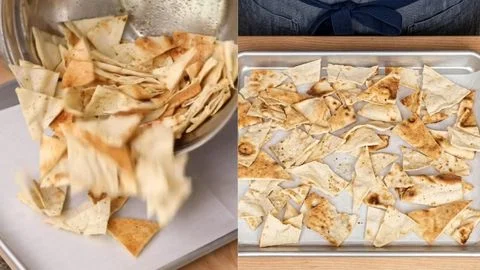
Line a baking sheet with parchment paper, foil, or a light coating of oil.
4. Bake the Chips
Spread the pita pieces in a single layer, separating them as much as possible; a little overlap is okay.
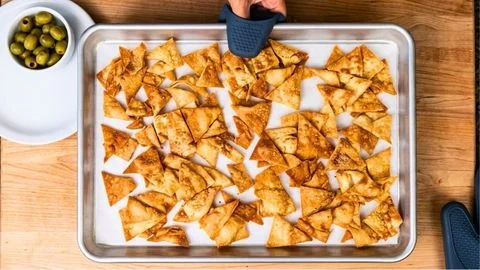
Bake, tossing the chips halfway through, until golden brown and crisp throughout.
5. Cool & Serve
Remove from the oven and let cool completely for at least 5–10 minutes – this final cooling step is what locks in the crunch.
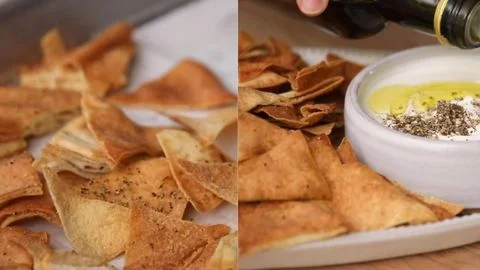
Serve with labneh, yogurt-based dip, or hummus, alongside olives if desired, and finish with an extra drizzle of olive oil.
Pro Tips for Getting the Flavor Just Right
The biggest mistake people make with any cava pita chips recipe is overcrowding the pan. If the pieces are piled on top of each other, they’ll steam instead of crisp, leaving you with soft, chewy spots instead of an even golden crunch. Give each piece breathing room, even if it means using two baking sheets.
Second, don’t skip tossing halfway through baking. Ovens have hot spots, and pita chips near the edges will brown faster than those in the center. A quick toss redistributes everything for even color.
Third, resist the urge to taste-test straight out of the oven. Pita chips continue to firm up as they cool, so a chip that seems slightly soft at the 10-minute mark will often be perfectly crisp five minutes later. Pulling them too early and assuming they’re underdone can lead to overbaking.
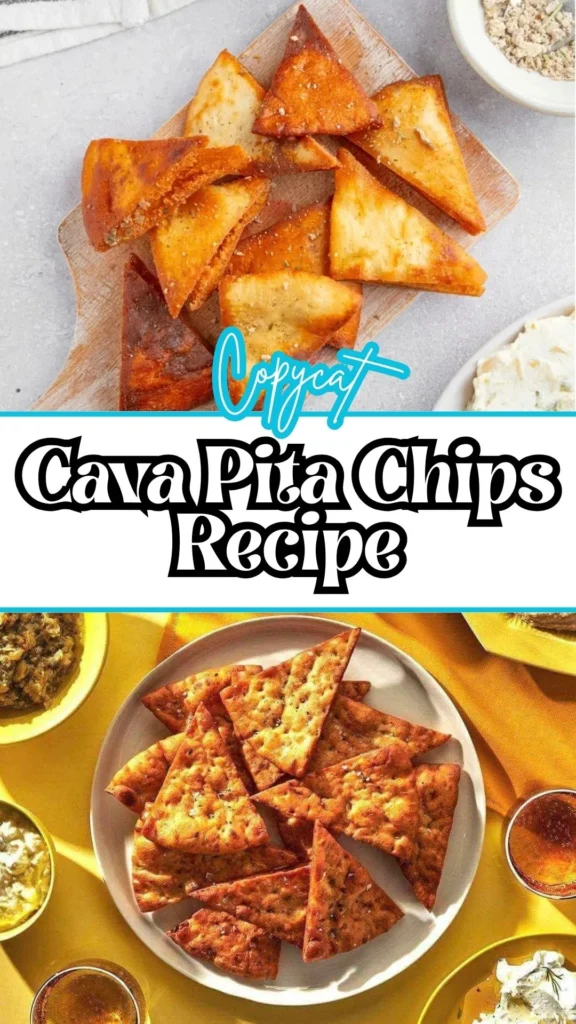
Finally, season generously but taste as you go. Garlic powder loses potency the longer it sits, so slightly increasing the amount can help if your spice is older. If you like bolder flavor, toss the pieces a second time with a light extra drizzle of olive oil and seasoning right when they come out of the oven, while they’re still warm enough for the spices to cling.
Easy Variations to Customize This Food
One of the best things about this pita chips cava recipe is how easy it is to riff on. For a smoky twist, add paprika or smoked paprika to the base seasoning. Craving something warmer and earthier?
Stir in ground cumin and coriander for a shawarma-inspired flavor. If you like heat, a pinch of cayenne or chili flakes does the trick. For a herby, Mediterranean profile, try dried oregano or za’atar instead of (or alongside) the garlic powder.
You can also swap olive oil for melted butter for a richer, more indulgent chip, or go dairy-free and keep it vegan by sticking with olive oil throughout.
Best Ways to Serve This Food in Your Meals
These pita chips shine brightest as a dipping vehicle. Pair them with labneh or a thick yogurt-based dip for a cooling contrast to the garlicky crunch, or serve alongside classic hummus, baba ganoush, or tzatziki for a Mediterranean-style spread. They also hold up well next to olives, marinated feta, or a simple cucumber-tomato salad, making them a natural centerpiece for a mezze platter at a gathering.
Beyond dipping, these chips work well as a crunchy topping – crumble them over a Mediterranean grain bowl, a Greek salad, or roasted vegetables for texture. They’re sturdy enough to scoop thicker dips like baba ganoush without snapping, yet light enough to snack on straight from the bowl while cooking.
For a heartier bite, use them to scoop shredded chicken, tabbouleh, or a spoonful of seasoned ground beef, turning snack food into a light lunch. However you serve them, a final drizzle of good olive oil right before eating brings back any flavor lost during cooling and makes them taste freshly baked.
How to Store and Keep It Fresh
Once fully cooled, store the pita chips in an airtight container or resealable bag at room temperature for up to 5 days. Avoid refrigerating them, as moisture in the fridge can make them soften.
If they lose crispness over time, refresh them in a 300°F oven for 3–5 minutes, then let them cool again before serving – this quick reheat restores most of the original crunch.
Nutrition Facts and Dietary Notes
A typical serving of these pita chips runs roughly 120–150 calories, depending on pita size and oil used. They’re naturally vegan and dairy-free as written. For a gluten-free version, substitute a gluten-free pita or flatbread.
To lighten them further, reduce the olive oil slightly or use an oil mister for lighter, even coverage. Baking instead of frying keeps saturated fat low, and using whole wheat pita adds fiber, making this a relatively better-for-you way to enjoy a crunchy, dippable snack.
FAQs About This Cava Pita Chips Recipe
Your guide to frequently asked Cava Pita Chips Recipe questions and answers.
1. What type of pita works best for a cava pita chips recipe?
Thin, traditional Lebanese-style pita works best, since it crisps evenly. Thicker grocery-store pita can be peeled apart into thinner layers first.
2. Can I air fry these instead of baking?
Yes – air fry at a similar temperature in a single layer, checking a few minutes early since air fryers often cook faster than ovens.
3. Why are my pita chips chewy instead of crispy?
This usually means the pan was overcrowded or the chips weren’t cooled long enough after baking. Both crowding and skipping the cooling step trap moisture.
4. Can I make this pita chip cava recipe without garlic powder?
Absolutely – swap it for onion powder, za’atar, or simply extra salt and pepper if you prefer a milder flavor.
5. How long do homemade pita chips stay fresh?
Stored in an airtight container at room temperature, they stay crisp for up to 5 days.
Cava Pita Chips Recipe
The first time I made this cava pita chips recipe at home, I couldn’t believe how close it tasted to the real thing. That warm, garlicky crunch you get scooping up hummus or labneh at Cava – it turns out it’s shockingly simple to recreate in your own kitchen.
Ingredients
- Pita bread
- Olive oil
- Salt
- Black pepper
- Garlic powder
- Optional seasonings
Instructions
- Preheat the Oven & Cut the Pita
Preheat your oven to 375°F (190°C). Cut the pita into small, even triangles using a pizza cutter or kitchen shears. For thin Lebanese-style pita, keep both sides together for sturdier chips; thicker pita can be separated first if you prefer a lighter chip. It’s fine if a few pieces come apart on their own. - Season the Pita Pieces
Place the cut pita pieces into a large bowl. Drizzle with olive oil (about 1 tablespoon per loaf, or 3 tablespoons total as a starting point), then add the salt, pepper, garlic powder, and any optional spices. - Toss & Prepare the Baking Sheet
Toss thoroughly, using your hands if needed, until every piece is evenly coated. Taste a small piece of the seasoned mixture and adjust as needed. Line a baking sheet with parchment paper, foil, or a light coating of oil. - Bake the Chips
Spread the pita pieces in a single layer, separating them as much as possible; a little overlap is okay. Bake, tossing the chips halfway through, until golden brown and crisp throughout. - Cool & Serve
Remove from the oven and let cool completely for at least 5–10 minutes - this final cooling step is what locks in the crunch. Serve with labneh, yogurt-based dip, or hummus, alongside olives if desired, and finish with an extra drizzle of olive oil.
Notes
Once fully cooled, store the pita chips in an airtight container or resealable bag at room temperature for up to 5 days. Avoid refrigerating them, as moisture in the fridge can make them soften. If they lose crispness over time, refresh them in a 300°F oven for 3–5 minutes, then let them cool again before serving – this quick reheat restores most of the original crunch.
Nutrition Information:
Yield: 10 Serving Size: 1Amount Per Serving: Calories: 40
And that’s it – a simple, crowd-pleasing cava pita chips recipe you can make anytime a craving hits. If you try it, let me know in the comments how you seasoned yours or what dip you paired it with. Looking for more Mediterranean-inspired snacks and dips to serve alongside? Check out the related recipes linked below for more ideas to round out your next spread.
We’d love to hear how this recipe turns out for you! Give it a try, then drop a comment below to share your thoughts and tips with us.
You can also follow us on Pinterest, and YouTube for more delicious updates and kitchen inspiration. Your feedback and support mean the world to us!